The Unbeatable Appeal of Stovetop Popcorn: A Culinary Rediscovery
In an era dominated by convenience foods, there's an enduring charm and undeniable superiority to
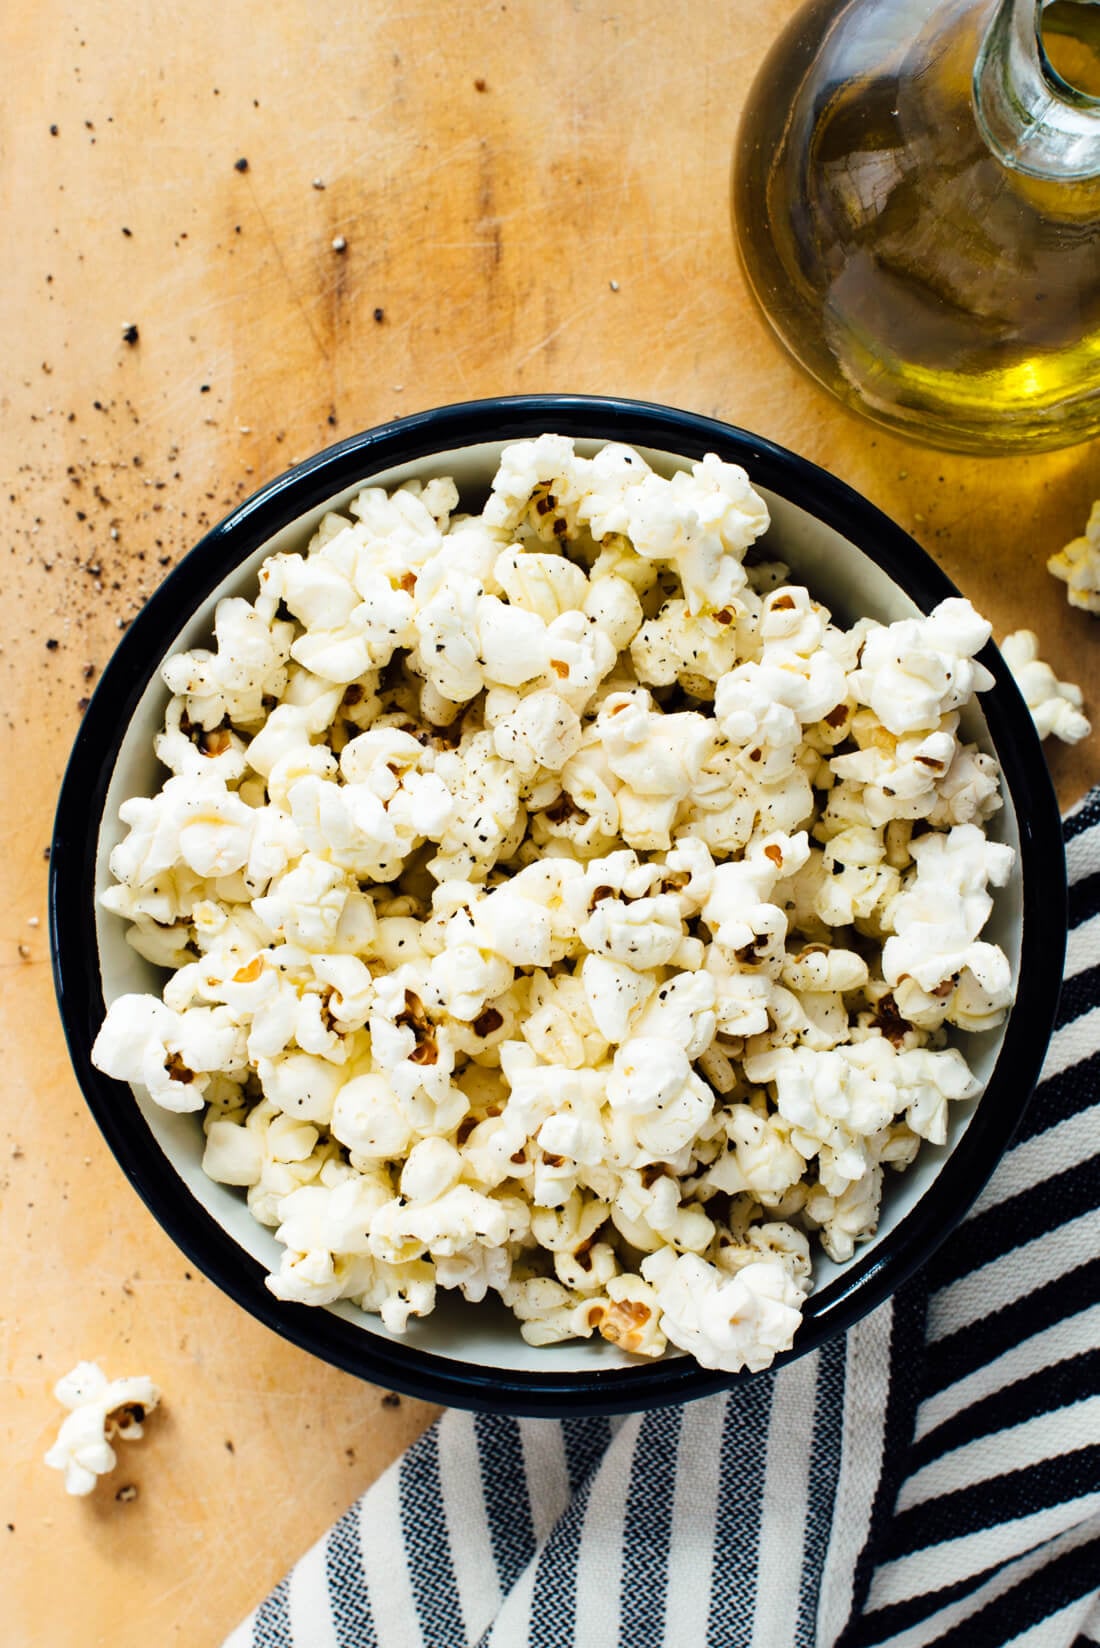
Master Stovetop Popcorn: Fluffy, Flavorful, & Never Burned. Forget the mystery ingredients and disappointing results of microwave bags; true popcorn aficionados know that the real magic happens in a pot on your stove. This "old school" method isn't just a nostalgic nod; it's a superior technique that guarantees a consistently perfect bowl of popcorn – fluffy, crisp, and bursting with fresh flavor, with virtually no unpopped kernels or scorched bits.
Making
Homemade Stovetop Popcorn: Healthier, Cheaper & Tastes Better offers a trifecta of benefits. Firstly, it's incredibly economical, turning a small handful of inexpensive kernels into a generous bounty. Secondly, it's inherently healthier, granting you full control over the type and amount of oil, salt, and seasonings, avoiding the artificial additives often found in store-bought varieties. A cup of lightly seasoned stovetop popcorn, for instance, can be as light as 56 calories and just 4 carbohydrates. Lastly, and perhaps most importantly, it simply tastes incomparably better. The process itself ensures each kernel reaches an optimal, even temperature before popping, resulting in an almost simultaneous burst of beautiful popcorn that's crisp and wonderfully satisfying.
Why Stovetop Reigns Supreme
The science behind perfect
stovetop popcorn is simple yet effective. Unlike microwave methods that can heat unevenly, a pot on the stove allows kernels to warm gradually and consistently in a thin layer of hot oil. This even temperature distribution is key to:
- Maximized Popping: Almost every kernel pops, leaving behind minimal waste and a fuller bowl.
- Preventing Burns: Consistent heat reduces the risk of scorching, ensuring a clean, pure popcorn taste.
- Superior Texture: The result is consistently light, fluffy, and crispy popcorn that won't disappoint.
Choosing Your Essentials: Kernels and Oils for Optimal Popping
The foundation of great
stovetop popcorn lies in selecting the right ingredients. A few thoughtful choices here can elevate your snack from good to gourmet.
Selecting the Right Popcorn Kernels
While "popcorn is popcorn" might seem true, there are subtle yet significant differences between kernel varieties:
- Yellow Kernels: These are the most common and widely available. They typically pop into larger, sturdier flakes with a slightly more irregular, "butterfly" shape. Yellow kernels tend to be crispier and hold up well to robust seasonings. Their hull is generally thicker, contributing to their durability.
- White Kernels: Less common but sought after by connoisseurs, white kernels typically produce smaller, more delicate, and tender popcorn with a softer mouthfeel, often described as having a "snowflake" or "mushroom" shape. Their thinner hull means they virtually melt in your mouth, making them ideal if you prefer a less noticeable hull.
Many popcorn enthusiasts enjoy combining both yellow and white kernels for a delightful textural contrast. Whichever you choose,
freshness is paramount. Store your kernels in an airtight container in a cool, dark place – a pantry shelf is perfect. Avoid refrigerating or freezing, as excess moisture can affect popping quality. Properly stored, fresh kernels can last for months, ensuring consistently good results.
The Best Oils for Your Stovetop Popcorn
The oil you choose is crucial for flavor and, more importantly, for preventing scorching. The key here is a
high smoke point. This refers to the temperature at which an oil begins to burn and produce smoke, imparting an unpleasant flavor to your food.
Here are the top contenders for
stovetop popcorn:
- Vegetable Oil & Canola Oil: These are excellent all-around choices. Both have high smoke points and neutral flavors that won't compete with your popcorn, making them ideal for any seasoning profile. I personally find vegetable oil to be consistently reliable.
- Coconut Oil: If you crave that authentic "movie theater" popcorn experience, coconut oil is your go-to. It imparts a subtle, slightly sweet, and rich flavor that many associate with cinema snacks. Opt for refined coconut oil if you want a more neutral coconut taste, or unrefined for a more pronounced flavor. It also boasts a good smoke point.
- Olive Oil: A fantastic option for a healthier snack, olive oil, particularly extra virgin olive oil (EVOO), adds a lovely fruity, peppery depth to your popcorn. While EVOO has a slightly lower smoke point than refined oils, it can still be used effectively for stovetop popcorn on medium heat without issue, provided you don't let it get excessively hot and smoke. It complements many savory seasonings beautifully.
Pro Tip: Avoid using butter for popping, as its low smoke point means it will burn quickly and spoil the flavor. Instead, add melted butter *after* your popcorn is popped.
Mastering the Stovetop Popping Technique
Achieving perfect
stovetop popcorn every time is surprisingly simple, thanks to a few key techniques.
The "Test Pop" Method: Your Secret Weapon
This ingenious trick ensures your oil is at the perfect temperature before you commit all your kernels. Here's how:
- Place a heavy-bottomed pot (a 3-4 quart pot with a tight-fitting lid is ideal for ½ cup of kernels) over medium-high heat.
- Add your chosen oil (approximately 2-3 tablespoons for ½ cup of kernels) and 2-3 popcorn kernels.
- Cover the pot and wait. Once those test kernels pop, you know the oil is at the ideal temperature. Remove the popped test kernels from the pot.
This simple step prevents under-popping (if the oil isn't hot enough) or burning (if it's too hot).
Step-by-Step Guide to Perfect Popping
With your oil prepped, you're ready for the main event:
- Add Kernels: Pour in the remaining ½ cup of popcorn kernels, shaking the pot gently to ensure they form a single, even layer at the bottom. This even distribution is crucial for consistent popping.
- Cover and Shake: Place the lid securely on the pot. For the first minute or so, you might want to slightly vent the lid by leaving a tiny gap, allowing some steam to escape for crispier popcorn. As the popping begins in earnest, give the pot a gentle shake every 10-15 seconds. This movement helps prevent kernels from sticking to the bottom and burning, and ensures unpopped kernels come into contact with the hot oil.
- Listen for the Lull: The popping will start slowly, then intensify rapidly into a lively chorus. Keep shaking gently. As the popping slows to about 2-3 seconds between pops, immediately remove the pot from the heat. Don't wait until the popping stops entirely, as residual heat will continue to cook the popcorn, leading to burnt kernels.
- Immediate Transfer: As soon as you remove it from heat, pour the hot popcorn into a large serving bowl. Leaving it in the hot pot will cause steam to accumulate, resulting in soggy popcorn.
Elevating Flavor: Seasoning and Beyond
Once your fluffy, warm
stovetop popcorn is in the bowl, the fun truly begins: seasoning! The key to well-seasoned popcorn is to add your flavorings immediately, while the popcorn is still hot and porous, allowing them to adhere best. A light drizzle of additional melted butter or extra virgin olive oil can help dry seasonings stick even better.
Classic Seasonings
For purists, simplicity is king:
- Fine Salt: Kosher salt or fine-grained sea salt works best as it dissolves and adheres easily. Sprinkle generously to taste.
- Melted Butter: A drizzle of clarified butter (ghee) or regular melted butter is a classic indulgence. Clarified butter is excellent as it lacks water and milk solids, which can make popcorn soggy.
Adventurous Flavor Combinations
Don't be afraid to experiment! Your homemade
stovetop popcorn is a blank canvas for culinary creativity:
- Mediterranean Marvel: Take inspiration from the bold flavors of za'atar, Aleppo pepper, and grated lime zest. This combination offers a unique tangy, earthy, and mildly spicy kick that pairs beautifully with the toasted notes of popcorn.
- Cheesy & Savory: Nutritional yeast is a vegan secret for a rich, cheesy flavor. Combine with garlic powder, onion powder, and a pinch of smoked paprika for a truly addictive savory snack. Grated Parmesan cheese is also a fantastic option.
- Herbaceous Delight: Finely crushed dried herbs like rosemary, thyme, or oregano can add sophisticated aromatic notes.
- Spicy Kick: A dusting of cayenne pepper, chili powder, or sriracha powder can ignite your taste buds.
- Sweet Treats: Beyond simple sugar, homemade popcorn is the perfect base for creating delightful caramel corn or nostalgic popcorn balls, offering a sticky-sweet counterpoint to its natural crunch.
Storing Leftover Homemade Popcorn
Should you miraculously have any leftovers, store your
stovetop popcorn in an airtight container at room temperature. It will retain its crispness for 1 to 2 weeks. For extra freshness, consider covering the surface of the popcorn with a piece of plastic cling wrap before sealing the lid – this can help lock in moisture and maintain its delightful texture longer.
Conclusion
Mastering the art of
stovetop popcorn is a rewarding culinary skill that pays dividends in flavor, health, and economy. With the right kernels, a high-smoke-point oil, and a few simple techniques, you'll consistently create bowls of fluffy, flavorful popcorn that far surpass any store-bought alternative. From classic salted to adventurous spice blends, the versatility of
homemade stovetop popcorn makes it the perfect snack for any occasion. So, grab your pot, choose your favorite ingredients, and embark on your journey to perfect popcorn bliss!